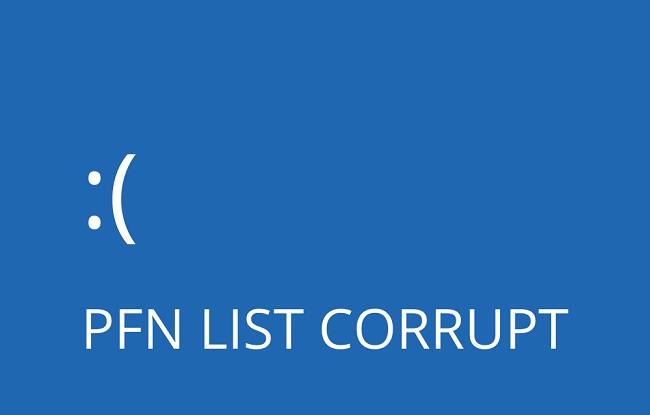
Answers to Common Questions Regarding Corrupted Stop Code PFN Lists Different routes might be taken to reach the same destination. In this article, we’ll cover a few quick fixes for the corrupt PFN list that results in stop codes in Windows 10 and 11.
PFN List Corrupt Windows 10/11
Here are 6 methods for resolving the PFN list corrupt problem message in Windows 10/11. Read them thoroughly in order to fix the BSOD problem.
Method 1. Remove the Software that is Causing the Issue.
Some users have speculated that antivirus programmes may be to blame for the PFN list corruption they have experienced. However, this problem might also be caused by other software.

Be prepared to uninstall any third-party programmes or cracked versions of existing ones if you encounter this issue. The latest versions of several programmes, such antivirus software, typically include a separate uninstaller.
The program’s de-installation tool is available for download on the developer’s website. First, uninstall the antivirus programme using the provided tool, and then download and instal the program’s most recent official update. Install a different antivirus programme if the issue persists.
Method 2. Repairing a Damaged Windows Registry
The Windows registry on your PC may have become corrupted during the installation process. That issue occasionally causes our computer to run more slowly. Eradicating a damaged or deleted registry is recommended.
Invalid registries should be scanned for and deleted. There are a plethora of resources accessible for no cost on the internet that can assist you with this. Automatic repair, refresh, and reset are your friends if you prefer to take matters into your own hands.
Many of you have probably already implemented these kind of changes because of how quickly they can be implemented.
Method 3. Install and Use the Blue Screen of Death Troubleshooter
Do you find yourself becoming increasingly irritated at this point? You still have a lot of options, so don’t fret. Start the Blue Screen of Death diagnostic tool. Everything that claims to fix issues with Windows 10/11 comes with it.
There’s a “Settings” section where you can find it. The BSOD can be fixed with this utility. Just follow these instructions to get it up and running:
- First, open the “Settings” programme by either searching for it or clicking its icon in the Start menu.
- Select “Troubleshoot” from the left-hand menu that appears after you click “Update & Security.”
- You’ll notice that Blue Screen of Death (BSOD) appears in the right pane. Click “Run the Troubleshooter” to fix the issue.
- Proceed with the procedure by carefully following the on-screen prompts.
Method 4. SFC Scanning
If you’re having trouble with Windows’s stop code PFN list being corrupt, you can also try running an SFC scan right now. This is the command to scan all files and replace any that are damaged. When done right, it can be the answer to many problems.
- First, open CMD by right-clicking the “Start” button (Command Prompt Admin)
- Second, type “sfc/scannow” at the command prompt. Enter by pressing the Enter key.
- Three, after it’s done, restart the computer and check to see if it’s functioning correctly.
Method 5. You can Start DISM.
To redeploy a system image, network administrators can use a programme called DISM (Deployment Image Servicing and Management). PFN List Corrupt is easier to fix now thanks to this. In addition to the Typical Method, another option is to use the Installation Media.
Normal Procedure:
- First, open the “CMD” programme by right-clicking the “Start” button (Command Prompt Admin).
- Paste the following command into the command prompt: DISM /Online /Cleanup-Image /RestoreHealth
- Third, be patient as the scan completes.
- The fourth step is to try the update again after restarting the machine.
Included on the accompanying CD/DVD/Blu-ray:
- First, put in the Windows installation discs.
- Second, you will start up CMD in the same way you did before. Use “dism /online /cleanup-image /scan health” and “dism /online /cleanup-image /restorehealth” as a template for your own commands.
- Lastly, type “DISM /Online /Cleanup-Image /RestoreHealth /source:WIM:X:SourcesInstall.wim:1 /LimitAccess” to complete the process.
- Replace X with the drive letter you want to use to mount the drive in your Windows 10 or 11 installation.
- When the procedure is complete, step five is to restart the machine.
Method 6. Update to Windows 10 or 11 and Your Drivers.
Windows customers are Microsoft’s first priority, thus the company constantly works to improve the Windows experience. Recent patches for bugs and other problems have been included in the updates. It would be nice if you could update your Windows OS.
Please upgrade your Windows installation as soon as possible if you use the notification system. Plus, you can try other options, such as going to “Settings” > “Update and Security” to see if the update has already installed.
Plus, remember to always use the most recent drivers. It’s a useful tool for fixing the dreaded “pfn list corrupt” problem.


